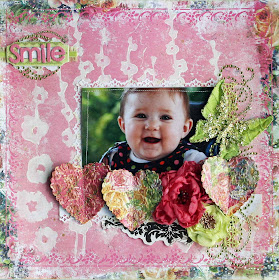
Sharon Laakkonen made this special layout using all new Prima products for a sweet little girl in her life!
Directions:
1. Our new large foam stamps are perfect for creating fun background effects. Just dab them with cream acrylic paint and stamp on patterned paper for a whole new look.
2. Once the paint dries punch a few strips of white scrap paper and attach to the back of a 4x6 photo as shown to create a framed effect. Stitch around the photo (if desired.) Attach the photo to the stamped background paper.
3. Add a 7 inch Prima crystal/lace border on the right side of the photo.
4. Tuck a journaling note and a punched border (8x3) under the photo area.
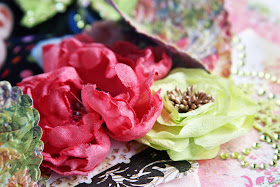
5. Attach a few special Prima flowers for a beautiful touch under the photo.
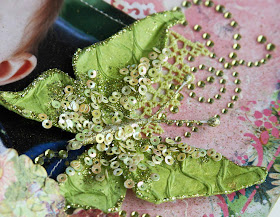
6. Add a Butterfly Kiss on the top right of your photo.
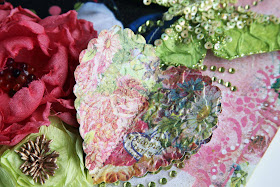
7. Punch six paper hearts out of coordinating paper and run them through an embossing folder for texture. Stack two hearts on top of each other and stitch down the middle. Adhere the three layered hearts to your page surrounding the flowers.
8. Add a bit of Prima Say it In crystal border right on the top left side of the page
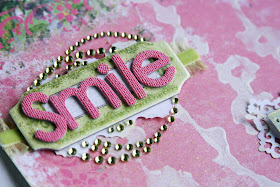
9. Attach a piece of punched border to the back of a journaling chipboard shape. Then set the chipboard shape on top of the SIIC swirls. Add your title to the shape.
10. Spray the entire layout with a light mist of sparkling spray for a glimmery effect.
Smile Supplies:
- Sweet Fairy paper-843045
- DD Foam Stamp: Hollyhocks-921149
- Petticoat Tissue Flowers-546434
- DD Elle Fabric Flower921330
- SIIC Swirl/Lace: 544454
- Butterfly-549503
- Sparkling Spring Chipboard-545802
- Alphas-544300
- Fairy Flora Journaling Card-541972
- Tim Holtz Embossing Folder
- Marvy Uchida heart punch
- Ranger Perfect Pearl Mist: Sunflower
Happy crafting!


Such a beautiful layout
ReplyDelete