

SUPPLY LIST:
Doodlebug Tree or any small white tree
Echopark Paper: Be Mine Collection, Coordinating Solids
Inkssentials: Inking Tool
Ranger Alcohol Ink: Pink Sherbet (Woodland Set)
Tim Holtz Ideology: Facets- 2 packages, Baubles, Chain Clips, Adornments
Paper Piercer
Adhesive: Glossy Accents, Glue Glide Pro, Permanent and Repositionable
Embossing Folder: Sizzix, Valentine #2, Damask Set
Jenni Bowlin: Stick Candy
Scissors
General Craft: Scrap Ribbon, Tissue Paper
Small Needle Nose Pliers
Embossing Machine: Big Shot or Cuttlebug

CHARMS:
1. Choose half of the facet charms to give a slight pink color to by inking with alcohol ink. (Place a few drops of ink on the felt applicator and lightly dab up/down until the desired color is achieved. Note: you may see some small bubbles or streaks – this is normal.) Set aside to dry – they dry almost instantly depending upon how much ink is used.
2. Choose a different pattern of paper for each charm. We even used some of the stickers and placed them on a scrap of paper to take care of the sticky part.
3. Trace around facet with a pencil. Trim from paper, cutting just inside of the line.
4. Using Glossy Accents, draw a line of glue around the paper backing about a 1/8” in from the outer edge. (Make sure you place the glue on the right side of the paper that you want to show through the facet.) Place facet over paper and lightly smooth around the glue. Set aside to dry for about 30 minutes.
5. When the paper is dry, use piercer to punch hole.
6. Repeat steps 2-5 for each charm.
7. If adding a bauble or adornment to any of the charms, insert a chain clip onto the bauble so it will be ready for the ribbon hanger.
8. Open a jump ring and thread through the facet and bauble; close with pliers.
9. Cut a 9 ½” piece of ribbon and thread through charm; place on tree.
BASE:
1. Cut 4 squares of dark gray solid coordinating paper 4 ¾ x 4 ¾”, set aside
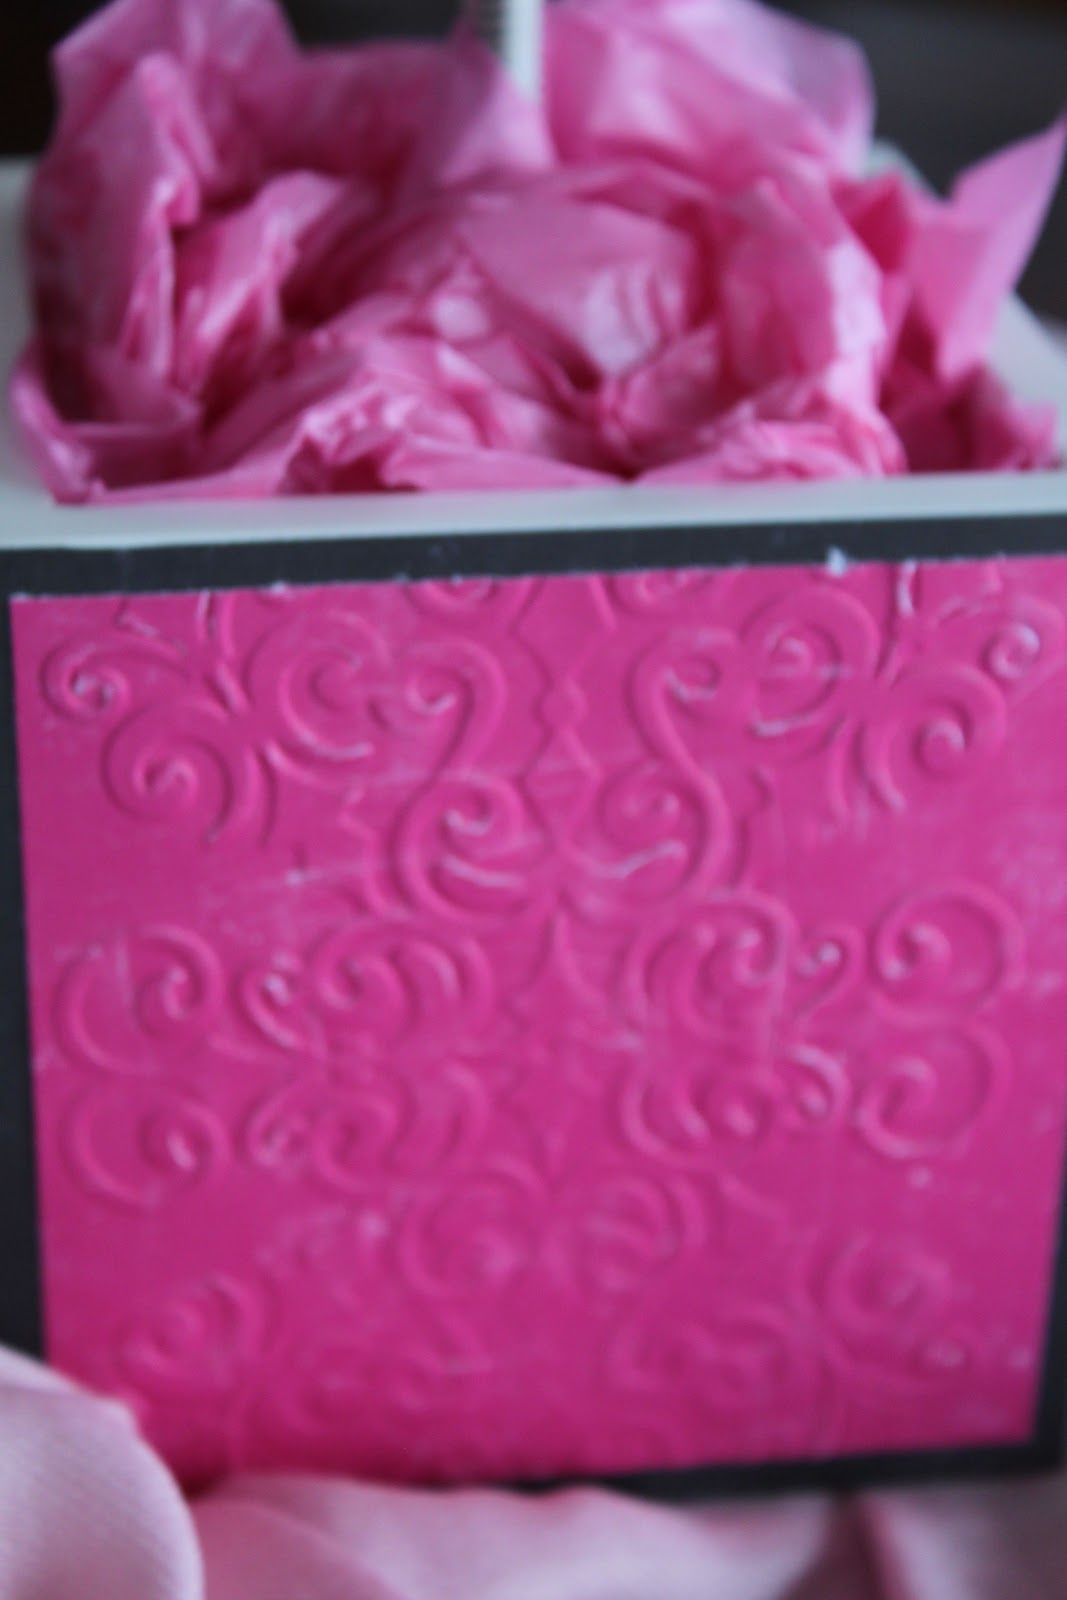
2. Cut 4 squares of dark pink solid coordinating paper 4 ¼ x 4 ¼”.
3. Center the pink square in between the damask embossing folder and emboss. Repeat with all squares. Using permanent adhesive, adhere the pink square to the dark gray squares.
4. Next, place repositionable adhesive on the backside of the gray square and attach to base of tree. (By using repositionable adhesive, you can easily remove squares and decorate the tree for another holiday.)
TOP:
1. Cut 2 squares 2 x 3” of dark pink paper.
2. Insert one piece of paper into heart embossing folder and emboss. Flip over embossing folder and insert second sheet of paper and emboss. (By flipping over the embossing folder you will be able to put the hearts together and have them fit properly.
3. Line up both hearts so they fit together. Trim around heart through both layers.
4. Glue the outer edges together so that a hole is left in the middle to place over tree trunk. Ink edges of heart with stamp pad.


Happy crafting!


2 comments:
Super cute, but too girly for my boys. I've made a Valentine's tree this year with paper ornaments. Check it out and let me know your thoughts. www.dosomethingcreativedaily.blogspot.com
how cute, love this.
chris
mcwooten1999@carolina.rr.com
http://turnedgypsy.blogspot.com
Post a Comment