Showing posts with label Product Tips. Show all posts

What to do with Stampendous Fran:tage

Thursday, May 24, 2012


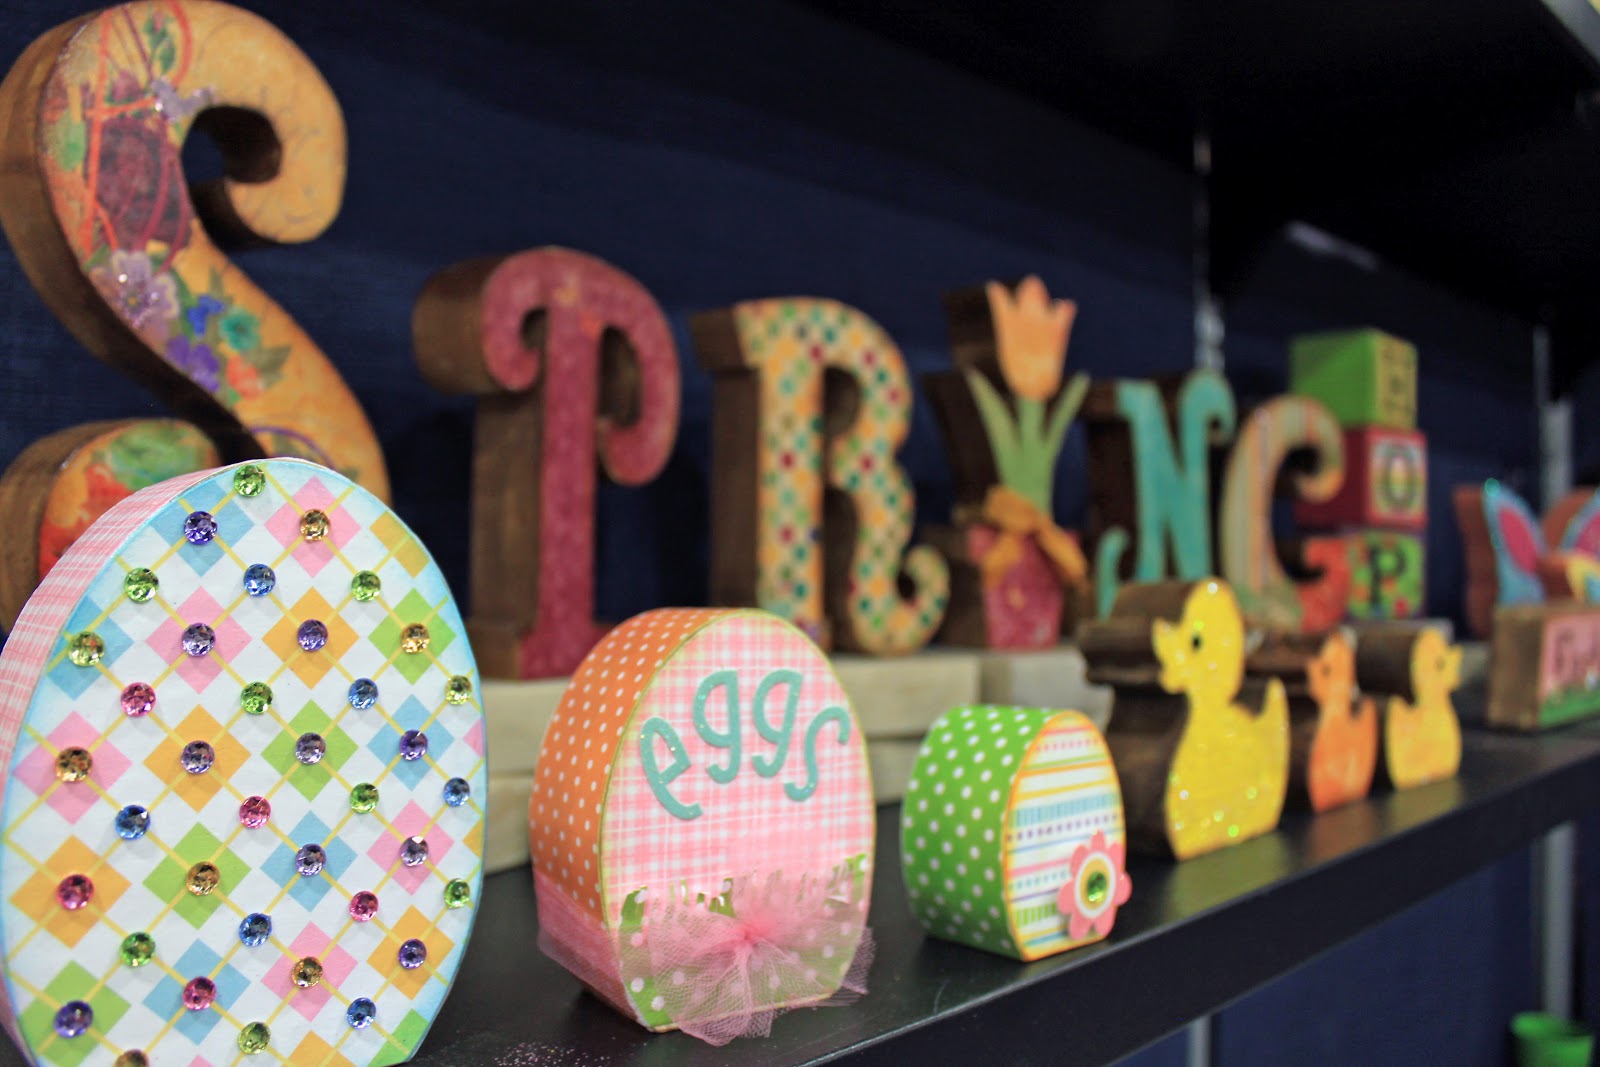
The Stampendous Fran:tage Embossing Enamels create beautiful gilded effects that can be used on a variety of projects from wood shapes to paper to cards to layouts! When used with the Glass Glitter and Mica Fragments, the results create spectacular textures and lots of visual interest.

Supplies Used:

Wood Designs : Classic Frame
Wood Designs : 12" Big Letter L
Stampendous : Fran:tage Embossing Enamels - Aged Gold
Stampendous : Fran:tage Glass Glitter - Champagne, Silver
Stampendous : Frant:tage Mica Fragments - Gilded
Tim Holtz : Distress Ink Pad for Embossing
12" x 24" Cardstock
Martha Stewart : Acrylic Craft Paint - Glitter Florentine Gold, Satin Acorn
Embossing Heat Tool
Mod Podge

Instructions:
1. Trace the wood shape onto a piece of 12" x 24" cardstock and cut out.
2. Paint the wood shape with coordinating acrylic craft paint.
3. Stamp a small area of the traced cardstock cut-out with distress embossing ink, then cover the ink with embossing enamel first, then the glass glitter and finally the mica fragments. Using an embossing heat tool, heat the mixture from beneath the cardstock until the embossing enamel melts and solidifies.

**WARNING** Embossing enamel is very hot so do not touch the enamel until it is cooled.

4. Section by section, repeat step three to cover the entire piece of cardstock with the embossing enamel, glass glitter, and mica fragments. 


TIP: The cardstock shape may tend to curl when it is being enameled. For the frame shape, I left the cardstock under some weight overnight to remove the curling.  This may be necessary with larger sized projects.
 

5. Once the cardstock shape is completely cooled, adhere the enameled cardstock to the front of the wood shape using Mod Podge.


Happy crafting!

Stamping on Wood

Thursday, April 19, 2012

Here's a design tip from OMC Designer Lindsey!

In the OMC design room, we have been creating lots of fun projects with wood. I love working with wood, combined with all the other tools in crafting. I love to stamp, so i thought i would combined these two favorites. I painted a shape that I thought would be fun to use as a home decor project. I painted the wood cutout with our new Martha Stewart Paint, then chose a stamp by Tim Holtz that I loved, then finally stamped it on the wood once the paint was dry. I thought that the ink from the stamp would rub off, so I let the ink from the stamp dry for a couple days. The ink had totally dried and became permanent without sealing it. I enjoy mixing different mediums. You'll never know what amazing things you will discover.


Supplies Used:
Wood Designs : Fleur De Lis
Craft Paint
Tim Holtz : Distress Ink Pad
Tim Holtz Stamp

Happy crafting!

Helpful Hints for Wood Designs!

Wednesday, March 28, 2012

OMC Designer Jill put together this list of helpful hints that are good to know when working with the new OMC Wood Design shapes!

We are finding that wood crafting is new to many of our customers so we thought we would give you a few little tips to help you be more comfortable with this brand new, fun and exciting craft!


- One of the easiest and funnest ways to decorate the wood is with paper. There are literally thousands of patterns that you can choose from. Most crafters have stacks of papers already in their craft rooms. Although I personally feel you can NEVER have enough paper!

- To begin with, simply trace around your letter or shape and cut out. Do this before you stain or paint so that no stain or ink accidentally gets on your paper!

- One of the most important things to remember is to
stain or paint the sides of your wood before gluing down your paper. It is extremely difficult once you have adhered your paper on to the wood to then go back and stain or paint the sides. The paper will always be in the way!

- Adhere your paper to the wood using Mod Podge. I have found that too little dries too fast and too much tends to make the paper bubble. So practice with the different amounts!

- Once the paper is adhered it is extremely important to press out all bubbles and let it dry. A lot of times I will use a brayer to really make sure I get it down well!

- Quite often there is a small amount of paper that will be hanging over the edges. I simply take a large nail file and sand the edges pulling down away from the paper. This takes of the excess and also distresses the edges. You can do as little or as much as you want!

- I love to use an Inkssentials blending tool and the Tim Holtz Distress Inks to ink the edges of the paper. Sometimes I think “maybe I won’t ink the edges this time” but when I do I am always much happier with the way it looks. It’s kind of like the ink just gives the project that extra little pop!

- To finish off the project I will give it another coat of
Mod Podge. It is very important to make sure that first coat of Mod Podge under the paper is dry before applying the top coat! I have found that this lessens any bubbling as well!

- Don't forget to embellish with any of the numerous embellishments that we have available. Some of my favorites are Prima Flowers, Stickles, or our new crafting wire soon to be on our website!

Happy Wood Crafting!!

- Jill

Why Wood Shapes?

Tuesday, March 27, 2012

Have you noticed what the buzz is at Oh My Crafts recently? It’s all about WOOD!

Our very own OMC Designer Jill has been working hard to bring you some absolutely adorable wood projects. If you've been following our blog, you'll know exactly how cute her projects really are! Here's what Jill has to say about the new Wood Designs:

Wood crafting is HUGE right now and there are so many ways that you can express yourself with wood! Check out our Wood Designs category as we have seasonal shapes for all sorts of events such as Valentines, St. Patrick's Day, Easter, and more!

And we have 3x3 wood blocks and different sizes of rectangular blocks. There are so many different ways you can decorate these woods shapes. Using our wood blocks you can say anything you want to say with wood!

Use the blocks to decorate your child’s room with their name….or add a bit of country to your kitchen by using the rectangle blocks to add that vintage farm look! The possibilities are endless! Check back periodically because we are adding new wood designs every week. Coming very soon….Alphabets! Spell anything you want with our new alphabets!!

Also, did you know that OMC has the .svg files to coordinate with the Wood Design Shapes?
Well we do!

Here's what OMC
Designer Alissa has to say about the new Designer Cuts:

Wood décor is an absolutely fantastic way to add an extra personal touch to your home! If you have ever covered any wood design with paper, you know just how challenging it can be to cut it out perfectly. All of the Wood Designs at Oh My Crafts have .svg files available that coordinate with the wood designs. So now instead of spending extra time tracing and cutting yourself, you can purchase the svg file and have your digital cutting machine (i.e. Cameo, eclips…) cut out the design for you. Check out the Designer Cuts and see how much easier they can make your projects!

Happy crafting!

Just Say'n Hello - Pillow Box

Friday, March 16, 2012

Just Say'n Hello - Pillow Box
Created by OMC Designer Sandy

Videos on How-To: 

Pillow Box With Adhesive Stencil Demo
 

Wrinkle Ribbon Demo


Supplies Used:  
Sizzix : Pillow Box Die
Sizzix Originals Die : Flowers & Vine #3
Fancy Pants : Be You - Paper
OMC : Adhesive Stencil Material
May Arts : Wrinkled Ribbon
Tattered Angels : Glimmer Mist
Doodlebug : Sugar Coated Pastel Brad
Martha Stewart : Butterfly Punch
My Pink Stamper : Itty Bitty-Lisious 
Alternative for Hello stamp: Doodlbug : Clear Stamps - You Said It


Note: The Sizzix Pillow Box Die that was used for this project has been discontinued, but there are so many cute box dies to choose from.  If you do not already have the Sizzix Pillow Box Die, we have provided this link to other box dies for you to consider using.
Selection of Box Dies

Happy crafting!

Konnichiwa Happy Everything Card

Thursday, March 8, 2012

Konnichiwa Happy Everything Card
Created by OMC Designer Sandy


From the first time I experienced the sheer fun of embossing metal, I’ve been hooked! It can be done as easily as embossing a piece of cardstock. (Their blanks can be embossed in plastic embossing folders or any of the DecoEmboss/DecoEtch dies that you might have.) For this card, I used a Sizzix DecoEmboss die and inserted one of the new Vintaj copper blanks in a Tim Holtz Vagabond machine. Then to add some color I used three shades of alcohol ink and Blending Solution and dabbed the color on the blank until I achieved the desired look. I thought the embossed blank would give a little texture to my lanterns. I found the new stamp from Hero Arts stamped beautifully (They are selling fast). It would be so easy to color in the stamp or even emboss if wanted. Then to add just a little pop, I used a Quickie glue pen to color in the pennants and then sprinkled one of the new Glitter Ritz colors - Green Tea to add a little sparkle. Over all, this card took very little time to make and was a lot of fun to create. The collection pack from Basic Grey called Konnichiwa has such great papers to design with. 

Embossing Vintage Metal Blanks - How To Video

 
Happy Crafting!

Top 10 Reasons to Love Mister Huey's

Tuesday, January 17, 2012

The Top 10 Reasons to Love Mister Huey's Color Mists
By Maggie Holmes

1. Mix a little Mister Huey with white paint, it makes an amazing chalk effect.
Tip: You can literally create your own custom paint colors by adding the spray ink to white paint and mixing it up.

2. The precious bottles look adorably handsome all lined up for display.
3. Clean up is easy with a baby wipe or warm soap & water.
4. Stamping with Mister Huey gives a whole new life to your stamps or masks.
Tip: You can apply Mister Huey to foam stamps with a brush or you can also use the Studio Calico masks as stamps like I did here. I sprayed the mask with the ink, then lifted it carefully up, turned it over and pressed it down onto my page to create this stamped look. It is best if you spray a lot of ink onto the mask.

5. Mister Huey's ink based mist does not warp paper and does not clog.
6. Grab a border punch or even alphabet stickers to create a mask then spray with Mister Huey mist for an awesome effect.

7. Mister Huey Stretches all of your supplies by making them the colors you want!
Tip: You can spray the ink on our plain wood veneer pieces to turn them any color you want. You can also alter the color of other products like stickers and alphabets to get a custom color that works perfectly on your layout!

8. Add a subtle touch of bling to any project with a little Mister Huey Shine.
9. A few squirts can dye neutral color fabric to coordinate with any project.
Tip: You can die fabric, ribbon, trims, etc. To speed up the drying time use a heat gun. 


10. Mister Huey takes the guess work out of choosing a color - the color of the label is always the exact color of the mist!

Happy crafting!

Canvas Colorables & Faber-Castell!

Thursday, November 10, 2011

Sport Themed Canvas Colorables Created by OMC Designer Whitney
Have you seen the new Canvas Colorables by Little Yellow Bicycle? These sport-themed canvas sheets are so unique and fun to color. They would look great in our child’s room and would also be a fun activity to keep him or her busy. The Canvas Colorables come two to a package and they are offered in baseball, football and soccer. The finished size measures about 5”x7” and they are wrapped around chipboard making them fairly sturdy.

There are many ways to do color the canvas but what I used and really enjoyed were the Faber Castell Watercolor Pencils. These Watercolor Pencils were so easy (and clean!) to use. Simply color the canvas and then use a wet paintbrush to brush over your design and the water-soluble leads turn into soft, rich watercolor. For a more striking effect, you can also use the Faber Castell Pitt Artist Pens. These pens/markers are waterproof, lightfast, and archival. I was impressed with how well they worked on canvas.

No matter the age, gender, or creativity level these new Canvas Colorables are very fun and perfect for crafting projects.

Happy crafting!

OMC How To: Make Your Own Brads!

Wednesday, October 12, 2011

How to Make Your Own Brads Using the Imaginisce I-top Tool
Instructions provided by OMC designer Whitney


The I-top is such a fun and easy way to make your own brads!


When you buy the tool, you should receive a CD demonstrating how to use the tool, but here is a little additional information you might enjoy:


There are 3 sizes of brads available: 16mm, 22mm, and 28mm
 
When purchasing the tool, you will be equipped to make 16mm and 22mm brads. If you want to make a 28mm brad, you must purchase the 28mm rubber head as well.
 

Not only does the i-top make brads but it also makes Snap Daddies that snap onto Rings or Bobby Pins, Twist Daddies that twist into Hair Clips, and even magnets!
 

The I-top tool comes with stencils to trace and cut your own toppers, but if you buy the I-top Punch Kit, you can skip that step and save time.

If you make a brad with cardstock, spray a little water onto the paper with the Tim Holtz
mini-mister to make it more pliable.

Instructions:


1. Make a topper  

- With Paper: Insert paper into paper punch and punch to make the perfect topper, or use the stencil to trace and cut your own.
- With Fabric: Use stencil to cut out a circle.


2. Place the top piece of brad onto I-top tool.


3. Place the paper on brad.


4. Swivel the “neck” down so the rubber head will surround the brad, and then give a little squeeze.


5. Swivel neck up and push down the flaps of paper.


6. Place the bottom piece of brad onto I-top tool, swivel neck down and squeeze again.


7. Remove from rubber head to reveal your custom brad!


Happy crafting!


How To Use Sizzix Ink-Its Letterpress Plates!

Saturday, October 8, 2011

How To Use Sizzix Ink-Its Letterpress Plate by OMC Designer Whitney

The new Sizzix Ink-its Letterpress dies create artful ink-debossed impressions. And they’re so convenient and fun to use. If you’re a serious crafter—then you probably already have the embossing machine and ink pads.


Supplies Used: 


Sizzix Ink-Its Letterpress Plate

Material to be inked (For best results use medium weight -100 lbs or more.) Regular cardstock, foil paper, felt, foam, and many other materials work too. Craft metal can also be debossed, but using shiny, non-porous materials with ink is not recommended because the ink will not dry. If using regular cardstock and not getting the impression you desire, place a thin piece of craft foam between the cutting pad and your paper.)  

Shim: thin foam pad or felt. Do NOT use a silicone pad, it will ruin it. 
Ink Pad  
Big Shot, Vagabond, Cuttlebug, Epic 6

Instructions:

1. Ink letterpress plate with ink pad.
 
2. Carefully place cardstock on top of letterpress plate and deboss using your Big Shot, BIGkick, Vagabond, or Cuttlebug machine:

Machine
& Plates (listed from bottom to top)
Big Shot or BIGkick by Sizzix

MP platform open on tab 1 + Ink-its Letterpress plate + Paper + Shim* + Acrylic mat
Tim Holtz Vagabond

Platform (solo shim) + Ink-its Letterpress plate + Paper + Shim* + Acrylic Mat
Cuttlebug by Provo Craft

A plate + Ink-its Letterpress plate + Paper + Shim* + B plate
 

*Optional: Create a shim out of thin craft foam for a deeper impression.


3. Remove cardstock and set aside to dry.

4. Clean letterpress plate with water and a paper towel. For tougher cases, use a stamp cleaner.


Examples of projects done with Ink-its:


Formal Invitation

 
Supplies Used:
Sizzix Ink-its Letterpress Plates (Rustic Trellis)

Letterpress Paper
 
Ink Pad (VersaColor: Black)
Prima Flower (Carlotta - Winery)
 

Instructions:
Step 1: Print invitation on cardstock and trim to size.
Step 2: Deboss cardstock with ink-its letterpress plate(instructions posted above)
Step 3: Mat invitation and letterpress strip to black cardstock.
Step 4: Apply additional embellishments such as Prima flowers.


Candle Embellishment

 
Supplies Used:
Sizzix: Ink-its Letterpress Plate : ORNATE TRELLIS
Elizabeth Craft Design : Shimmer Sheetz - RED METALLIC
 

Instructions:
Step 1: Trim shimmer sheets to fit around a candle.
Step 2: Deboss shimmer sheet with ink-its letterpress plate without ink. Since this is a shiny, non-porous material the ink will not dry. Also, use a shim since the sheet is quite thin.

Step 3: Wrap around candle.

Note: Remove before lighting candle.


Foam Flower Card


Supplies Used:

Sizzix Ink-its Letterpress Plate : BUTTERFLIES & FLOWERS
Bazzill Cardstock

Brown Craft Foam
Ribbon

Instructions:

Step 1: Deboss craft foam with ink-its letterpress plate, without ink, and without shim.
Step 2: Trim flowers from design and add gems to center of flower.
Step 3: Mat card with cardstock, adhere foam flowers, and tie bow around the card.

Autumn Box


Supplies Used:
Sizzix Ink-its Letterpress Plate : ELEGANT LOOPS  
Bo Bunny : FOREVER FALL COLLECTION PACK
Tsukineko : VERSAFINE: Crimson Red

Sizzix Bigz Die : FLOWER, 3-D WRAPPED


Instructions:
Step 1: Cover box with patterned paper.

Step 2: Deboss paper with ink-its letterpress plate with maroon ink and a shim (instructions provided above).
Step 3: With the debossed paper, die cut sizzix flowers and assemble.
Step 4: Adhere 3 flowers to the box.


Happy crafting!


LinkWithin

Related Posts with Thumbnails