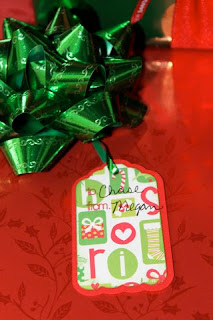
Make your own holiday gift tags to match your gifts.

The finishing touch of a perfectly wrapped present is the tag. Choose from five different versions of gift tags that are easy to make and fuss free, too. The best part of tag making is that the tag can be made to match your gift. Teach the kids how to make them and you’ll be set for the holiday wrapping season. Enjoy!

The finishing touch of a perfectly wrapped present is the tag. Choose from five different versions of gift tags that are easy to make and fuss free, too. The best part of tag making is that the tag can be made to match your gift. Teach the kids how to make them and you’ll be set for the holiday wrapping season. Enjoy!
SUPPLY LIST:
Any kind of electronic die cutting machine (Cricut, Eclips, Silhouette, Slice, etc.)
For this project, we used Cricut cartridge: Sentimentals
Christmas Paper Kit (this kit has lots of embellishments)
Card stock (our special Paper Packs are perfect for these tags)
Ribbon (narrow) your choice of colors
To/From stamp
Stamps: No Shakin' stamp
Ink pads: Seed Packet, Chilli Powder
CUTTING CHART for Cricut machines (click the image for a larger view):

1. Follow the chart above to cut each tag. If a direction given is inside <> these brackets, it means you need to use the alternate key.
2. Ink edges with matching ink pad.
3. Assemble layers if needed.
4. Stamp on smooth side of cardstock.
5. Adhere any stickers, if desired.
6. Place ribbon through hole.
ADDITONAL IMAGES:


1 comment:
wow - these are all on the Sentimental cart? I bought this cart from you... will have to look again - these are great. Like the faux postage one too.
Post a Comment