Frightfully Delightful!

Thursday, July 29, 2010


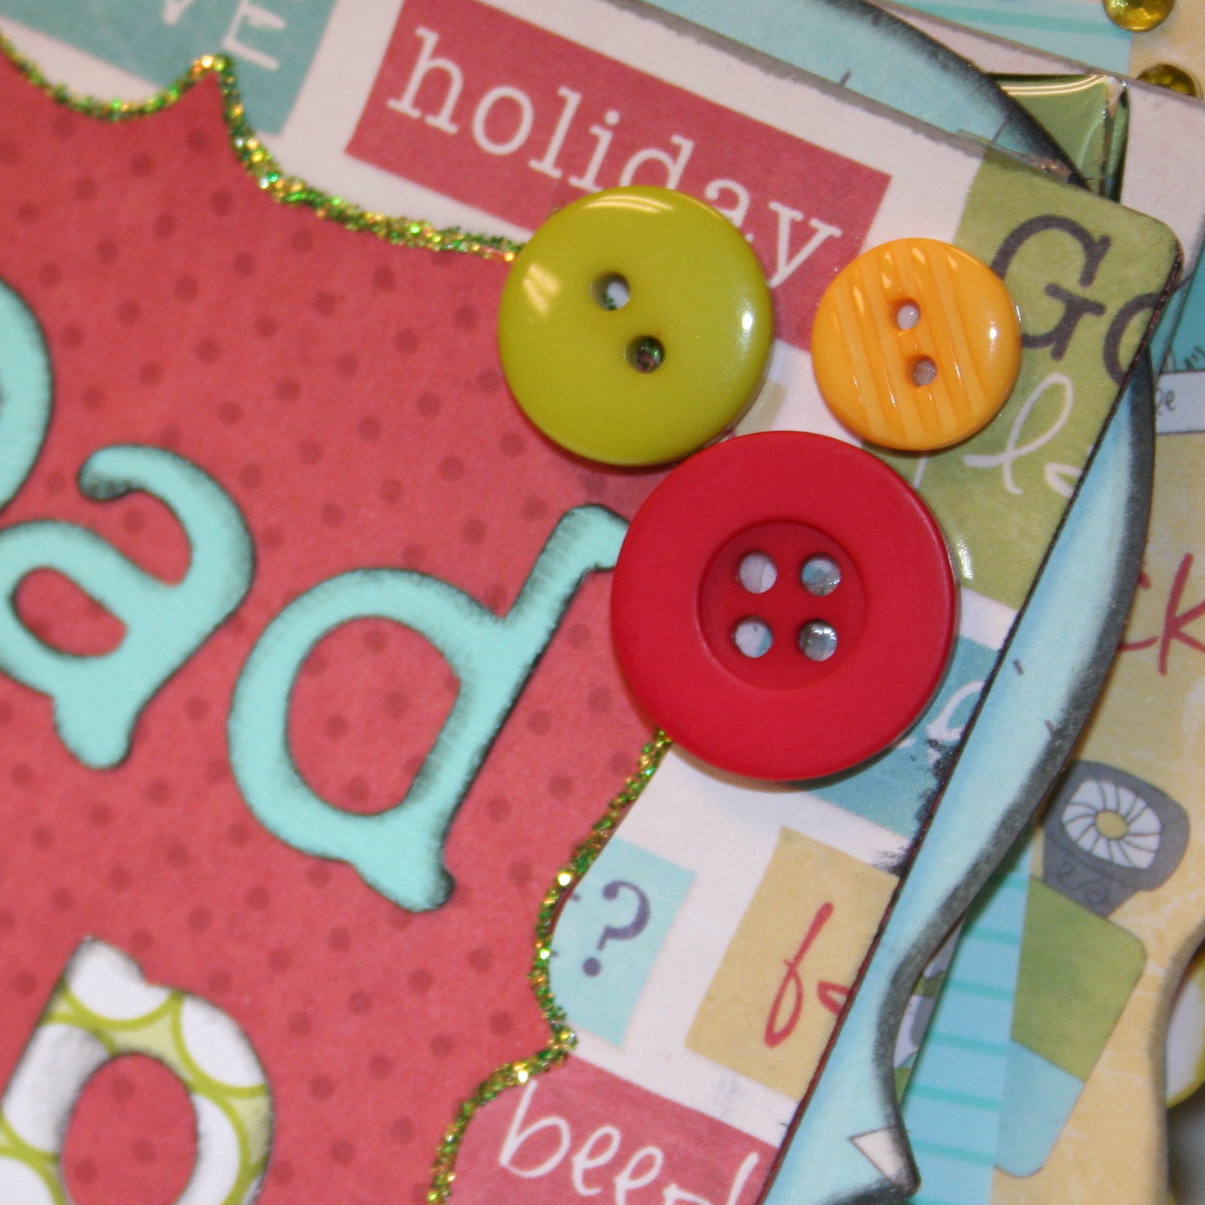
Halloween is just around the corner and we here at OMC are already getting our spook on!  Here are some festive and scary ideas from some of our favorite vendors.

First we have a treat box from Provo Craft! Now which sounds better - a Twix or a Snickers... Hmm...


Halloween Candy Desk Crate
 Created By: Camille Robinson
 Time to Do: One Hour
 Level: Intermediate

This festive treat container is a great way to decorate for the holidays! 

 INSTRUCTIONS:
1. Cut patterned papers to fit crate. Adhere to crate. Cut a piece of chipboard to fit bottom of crate. Adhere patterned paper to chipboard. Place piece at bottom of crate so candy does not fall out.
2. Edge crate with paint.
3. Cut title. Open DesignStudio software to a new 12" x 12" mat. Using Opposites Attract cartridge, select Opposite Happy Halloween twice. Weld letters next to each other, making an 11.323" x 1.638" border. Copy and paste border under first border. Select Multi Cut function and cut borders from very thin chipboard. Deselect Multi Cut function, insert Cricut Color ink, and write borders on the polka dot patterned paper. Remove ink and cut borders from polka dot patterned paper. Adhere patterned paper to chipboard base. feature and spell
4. Add another page to project. Using default font on Opposites Attract, spell trick and weld letters together. Word should be 4.515" x 0.812" when complete. Spell treat and weld letters together. Word should be 4.576" x 0.541" when complete. Insert Cricut Color ink and write words on brown cardstock. Remove pen and cut words.
5. Add another page to project. Using Plantin SchoolBook cartridge, select Tall Ball feature and size to 11" x 1.779". Copy and paste image under first image. Cut page from blue cardstock. Cut page again from orange cardstock.
6. Add another page to project. Select and size to 1.25" x 1.25". You will need 16 circles of this size. Cut page from brown cardstock.
7. Emboss circles using Cuttlebug machine and Boo To You! embossing folder.
8. Adhere scallops together to create one large border big enough to fit around crate. Distress border by crumpling. Adhere to crate as shown. Continue to distress scallops by tearing up bottoms of scallops if desired. Adhere yellow ribbon at top seam of scalloped border.
9. Adhere embossed circles to scallops.
10. Adhere Happy Halloween borders just above yellow ribbon on front and back of crate.
11. Adhere trick and treat to left and right sides of crate.
What you will need.
Provo Craft Supplies
  • Cricut Expression™ Personal Electronic Cutter [29-0300]
  • Cricut® Plantin SchoolBook™ cartridge [29-0390]
  • Cricut Opposites Attract Cartridge [29-0227]
  • Cricut DesignStudio™ software [29-0500]
  • Cuttlebug® Die Cutter and Embosser [37-1051]
  • Cuttlebug Boo To You! embossing folder [37-1903]
  • Cricut Color™ Basic Brown Ink [29-0420]
Other Supplies
  • Patterned paper: polka dot, others as desired
  • Cardstock: brown, orange, blue
  • Ribbon: yellow
  • CD crate
  • White acrylic paint and paintbrush
  • Chipboard (very thin)
  • Paper trimmer and scissors
  • Adhesive


Next up we have a spooky layout from Provo Craft!


Whooo's My Little Pumpkin Layout
 Created By: Melissa Phillips
 Time to Do: 1 hour
 Level: Intermediate
Create a festive page to remember Halloween.
 
INSTRUCTIONS:
1. Use one 8 ½" x 11" sheet white cardstock as layout base. Cut one block of black glittered cardstock to fit just below center. Adhere in place.
2. Cut a strip of striped cardstock to fit just below bottom edge of black glittered cardstock. Scallop a strip of black patterned cardstock using jumbo scallop scissors and adhere to bottom edge of striped cardstock. Adhere a strip of ribbon along top edge of striped cardstock. Tie a bow with another piece and attach on left edge. Embellish with flowers and rhinestones. Adhere to layout at shown.
3. Cut owl (see page 34). Using Storybook cartridge and green patterned cardstock, select Fancy/Corner feature and cut one 1 ½" . Repeat cut using black glittered cardstock. Cut black glittered owl off of tree and adhere onto green tree.
4. Arrange photographs as shown and adhere to layout. Adhere owl and tree to layout as shown. Embellish owl with rhinestones.
5. Cut WHOOOS. Using black cardstock, cut 1 ½" letters to spell WHOOOS. Using green patterned paper, cut thee 1 ½" o’s. Reserve center to embellish black letters. Adhere WHOOOS to layout as shown. Embellish two o’s with small goggle eyes.
6. Cut PUMPKIN. Using green patterned cardstock, cut 1 ½" letters to spell PUMPKIN. Adhere to layout as shown.
7. Cut my. Using Opposites Attract cartridge and black cardstock, cut ½" letters to spell my. Adhere to layout as shown. Attach alphabet stickers to spell little.
What you will need.
Provo Craft Supplies
Other Supplies
  • Cardstock: white, black glittered, striped, black patterned, green patterned, black
  • Ribbon
  • Alphabet stickers
  • Craft flowers: black glitter
  • Rhinestones: purple
  • Jumbo scalloped scissors
  • Goggle eyes
  • Adhesive


And what about some cute gift bags for those Halloween parties?  These bags from Sizzix are just the right amount of trick and treat!


Spooky Treat Bag 
Arstist: Deena Ziegler

Looking for a take-home from your Halloween party? Fill this Spooky Treat Bag with more sugary goodies.


INSTRUCTIONS:
Mat Patterned Paper on Cardstock and attach to bag. Emboss Cardstock, sand to reveal pattern and attach to bag. Embellish with glitter glue. Place candy in bag. Wrap several pieces of ribbon around bag and tie in a knot. Add Buttons to bag.


And last but not least, a fall card from Sizzix!


Fall Bats Card 
Artist: Debi Adams

Celebrate Halloween in spooktacular style! With this cute Fall Bats Card, you've got yet another detail covered for your next Halloween bash. Sizzix eclips cartridges make all your decorative projects your style by allowing you to personalize fun ideas like this one.

INSTRUCTIONS:
Create a card base out of Cardstock and Patterned Paper. Use a sewing machine to add stitching detail around patterned paper on card front. Cut Bat #2 and Phrase, Fall out of cardstock using the Eclips Machine and Seasonal Cartridge. Embellish the Phrase, Fall cut-outs with Glitter. Adhere cut-outs to card front. Embellish with ribbon, a paper doily and Buttons.
 

Happy hauntings!


What's Provo Craft Imagining Next?

Wednesday, July 28, 2010

The Cricut IMAGINE!

And just what is the Imagine?  It is the world’s first tool that precisely prints and cuts with the touch of a button without requiring a computer or software. The Imagine saves you time since you no longer have to use three different tools to get designs, print, and then cut projects.


“Cricut Imagine is not only unique to the crafting industry, but to the world of technology. There is not another device that incorporates printing and cutting the way this machine does,” said Jim Thornton, CEO of Provo Craft. “The pairing of print and cut technology could only be done by the leaders in each category—HP and Provo Craft. We’re eager to see what our customers can now do with a simple sheet of white paper and Cricut Imagine print-and-cut technology.”

“HP is always expanding its personal publishing portfolio with new products and services that inspire and enable creativity among individuals and families,” said Kathy Tobin, Vice President and General Manager, Specialty Printing Systems Division, HP. “Cricut customers can benefit from high-quality Original HP ink to achieve unique and professional results.”

Cricut Imagine features include:
  • Cricut Imagine cartridges are enhanced by Cricut Pattern and Cricut Color cartridges to add dimension and layering
  • Cricut Imagine is fully compatible with all original Cricut cartridges
  • Compatible with Gypsy by Cricut handheld design studio
  • Easy-to-use LCD touch-screen navigation so that all information is right at your fingertips
  • New detachable accents to be able to personalize your machine with colors and textures
  • Access to a vast new library of content and artwork: Over 150 original Cricut cartridges (with several new cartridges introduced each month), 12 new Cricut Imagine Art cartridges specifically for this new machine, plus 12 new Cricut Imagine Colors & Patterns cartridges
  • On-board color and pattern selector - choose your own colors, sizes and much more
  • Works with paper sizes up to 12” x 12” and makes cuts from .25” to 11.5”, making large-format print and cutting possible
  • Retractable paper tray
  • No computer necessary
  • Uses same blades and blade housing as current Cricut products
  • Uses a separate mat than original Cricut machines 
Suggested retail for Cricut Imagine is $599.99.


What do you think?  Are you imagining the possibilities yet? :)


Oh The Places We Go!

Monday, July 26, 2010

Hey all!  Remember that traveling blog contest?  Well we have winners!

Drum roll please.... 

The winners are:


Do you remember their stories? 

Stacy Curl said...
I don't have the opportunity to travel too often but I would have to say the best time I had traveling would have to be when my husband and I got married. We didn't do the typical honeymoon trip. We drove to Bend, OR where we had a condo for a week but we decided to cut the trip short, after purchasing beach bikes on a whim, and drive up the 101 coast camping at various different camp sites. We rode our new beach bikes on the beach and drank wine straight out of the bottle. We had a great time just enjoying one another and really enjoying the great outdoors. I think this trip will always be a fond memory to keep and cherish as I grow old with my husband.

Amanda said...
My worst travel experience was when I was studying abroad in the Czech Republic in college. I decided to go to Poland for a couple of days...well no one told me when I bought my ticket at the travel agency that Canadians had to have a visitor visa in order to enter Poland. At the border, armed Czech guards came on board to check everyone's passports. Because I didn't have a visa (I couldn't understand what they were saying), I got kicked off of the train in the middle of nowhere on a Sunday (trains only ran each way once a day on Sunday). I called my parents and my dad was trying to tell me what to say in Polish, but I wasn't on the Polish side yet! After 10 hours, a train to Prague came through and I headed back. The hostel I reserved accidentally booked me in a male dorm, so after an awful day, I was awoken at 4am by 10 drunk German men... I just hid under my blanket. Worst. experience. ever.

Janet said...
My best travel experience was when my husband and I returned tour roots, him to his birthplace of Bremen in Germany and the port of Bremerhaven where he boarded a ship to his new life in Australia. We then went to England to my birthplace Sheffield in Yorkshire. We also went to the post of Southhampton where I had boarded a ship to my new life in Australia also. The trip was taken to coincide with my 50th birthday and I had a very special experience I woke up on my special 50th birthday in the very same room I was born in. What an amazing experience something I will never forget. The bedroom was in my Nannan and Grandad's house where I had spent some very happy times in my childhood.On the trip we also had the amazing chance of a lifetime in a small coastal village of Whitby where we experienced the arrival of the Barque Endeavour where the original Capt Cook ship of the same name had departed from on her travels to Australia years ago. My husband and I had watched this replica ship Endeavour being built over a period of time and had watched her being launched in Fremantle Western Australia for her trip to England. So can imagine how exciting it was to see her arrive in her original port in this cute little coastal village . This was an amazing trip full of even more wonderful memories, in fact it was this holiday that got me into scrapbooking to record all of the wonderful photos and experiences, to reminisce about for the rest of my life. 

Congrats to our winners!  Now if you'd kindly send your shipping information to contest @ ohmycrafts.com we'll gladly send you something special to help you scrapbook your traveling adventures!

Thanks to all our participants and we hope you've enjoyed your summer so far!

Happy traveling!


We're givers, we are

Friday, July 23, 2010

'Member how last week we directed you to Turned Gypsy 'cause we were participating in an awesome giveaway? Well that one's finished—but never fear. If you can't get enough of awesome and FREE crafty giveaways (and who can, really?) then head on over to Bayberry Creek Crafter and see what Oh My Crafts is giving out to one lucky winner!


...Interested in connecting with Oh My Crafts on the blogosphere through giveaways and contests and other such fun? Give us a holla' at contest @ ohmycrafts . com!


Happy giveaway entering!

Let the Journey Begin!

Tuesday, July 20, 2010


As the summer begins to draw to a close, it's time to begin scrapping your vacations and adventures. Our own OMC designer Lindsey has created her own Road Trip Album to remember her summer memories.  Check it out!


Lindsey created this album using the Imaginisce Scooter's Vacation Paper Kit.


To create the shapes and patterns for this album Lindsey used all sorts of Sizzix Dies.  Scalloped Rectangles, Scalloped Circles, Brackets and Arrows, More Brackets, Ornate Squares, and Scalloped Squares - WOW!


Like the Brads?  They are Basic Grey Green at Heart Brads.  

Technique Tip: Paper patterned with words make great cut outs for your projects. 


Doesn't this border keep everything together?  Lindsey used the Bazzill Basics In Stitch'z Floss & Needles Kit to create it.


Loving the sparkly border?  Thank go to Ranger Ink Stickles Glitter Glue.  And don't you love all the buttons Lindsey used?  We have a whole variety of buttons to choose from here at OMC!


Happy vacationing!


Just Look How Far We've Come!

Monday, July 19, 2010


Happy Anniversary Oh My Crafts!

We're celebrating our 5 year anniversary this year!  Do you remember how we got started?  Cast your mind back...

About five years ago Sandy and Kevin Cottle created an online retail store that specialized in scrapbooking and craft products.  What started as a simple basement venture quickly turned into a prosperous business.  With a need for more space, OMC moved into a 6000 square foot building.


So many good memories :)


Less than a year later however, the company found itself a little too pressed for space (again!) and decided to move into a much larger facility in Orem, UT.


OMC's 1200% growth rate in the last 3 years has allowed the company to hire 45 employees to process thousands of orders every week.  


Now OMC carries over 3,000 items from more than 40 top craft suppliers.  Did you know that we are shipping 20% of our orders to more than 183 different countries?

So! Not only are we shipping out to our amazing customers worldwide, but our new facility includes a design studio to make and create, a classroom to inspire and educate, and a will-call pickup for our local customer base!  We are also hosting Bus Tours around the United States as well a crafting retreat in Salt Lake City called "Discovering Possibilities"!  

We've come a long way, haven't we?


To celebrate our anniversary we are having an entire week of specials and deals.  Each day we'll have a new special so make sure you check your email.  And of course, we have coupons!

FIVE20 - 20% off any order
    OR
FIVESHIP - FREE US50 Standard Shipping for order $50+

PLUS!  Through July 23rd, orders over $125 will receive a FREE $5 gift card!


Happy Anniversary ... to us!

The Lazy Days of Summer

Tuesday, July 13, 2010


Take a quick peek at these super fabulous summer projects from Lindsey!

"Lazy Days" Layout


Lindsey used the My Family Paper Kit from Fancy Pants for this layout project.


Check out these Glitter Thickers from American Crafts!  They are just what you need to spell out your lazy day activities.


And how about an Embellished Butterfly from Jenni Bowlin? Lindsey also used the Fiskar's Apron Lace Border Punch to create a cute border.


"Have a Happy Day" Card


Lindsey used the Olivia Paper Kit from Basic Grey to create this adorable birdie card.


Using Zing Embossing Powder along with a fun Unity Stamp gives this project some extra flair!


Technique Tip:  To give your project some texture and dimension, try rolling your paper around a pen or pencil to create a fun edge or border.

"Girls Rock!" Layout


For this girly layout Lindsey used the Dancing Girl clear paper from Fancy Pants.


Aren't these Baby Girl Glitter Brads from American Crafts just fun?


How about an entire row of embellishments?
From left to right: Baby Boy Glitter Buttons, Green at Heart Cozy Posies, Vintage Sew-On Buttons, and Dark Pink Dynasty Flowers


Have any questions about these projects?  You can email Lindsey directly at lindsfill @ gmail.com.


And don't forget it's "Be" week here at Oh My Crafts!  Here are the coupon codes:

BE20 - 20% off any order
   OR
BESHIPPED - FREE US50 Standard Shipping on orders $35+


 Happy lazy days!


LinkWithin

Related Posts with Thumbnails