
Created by OMC Designer Lindsey

Supplies Used:
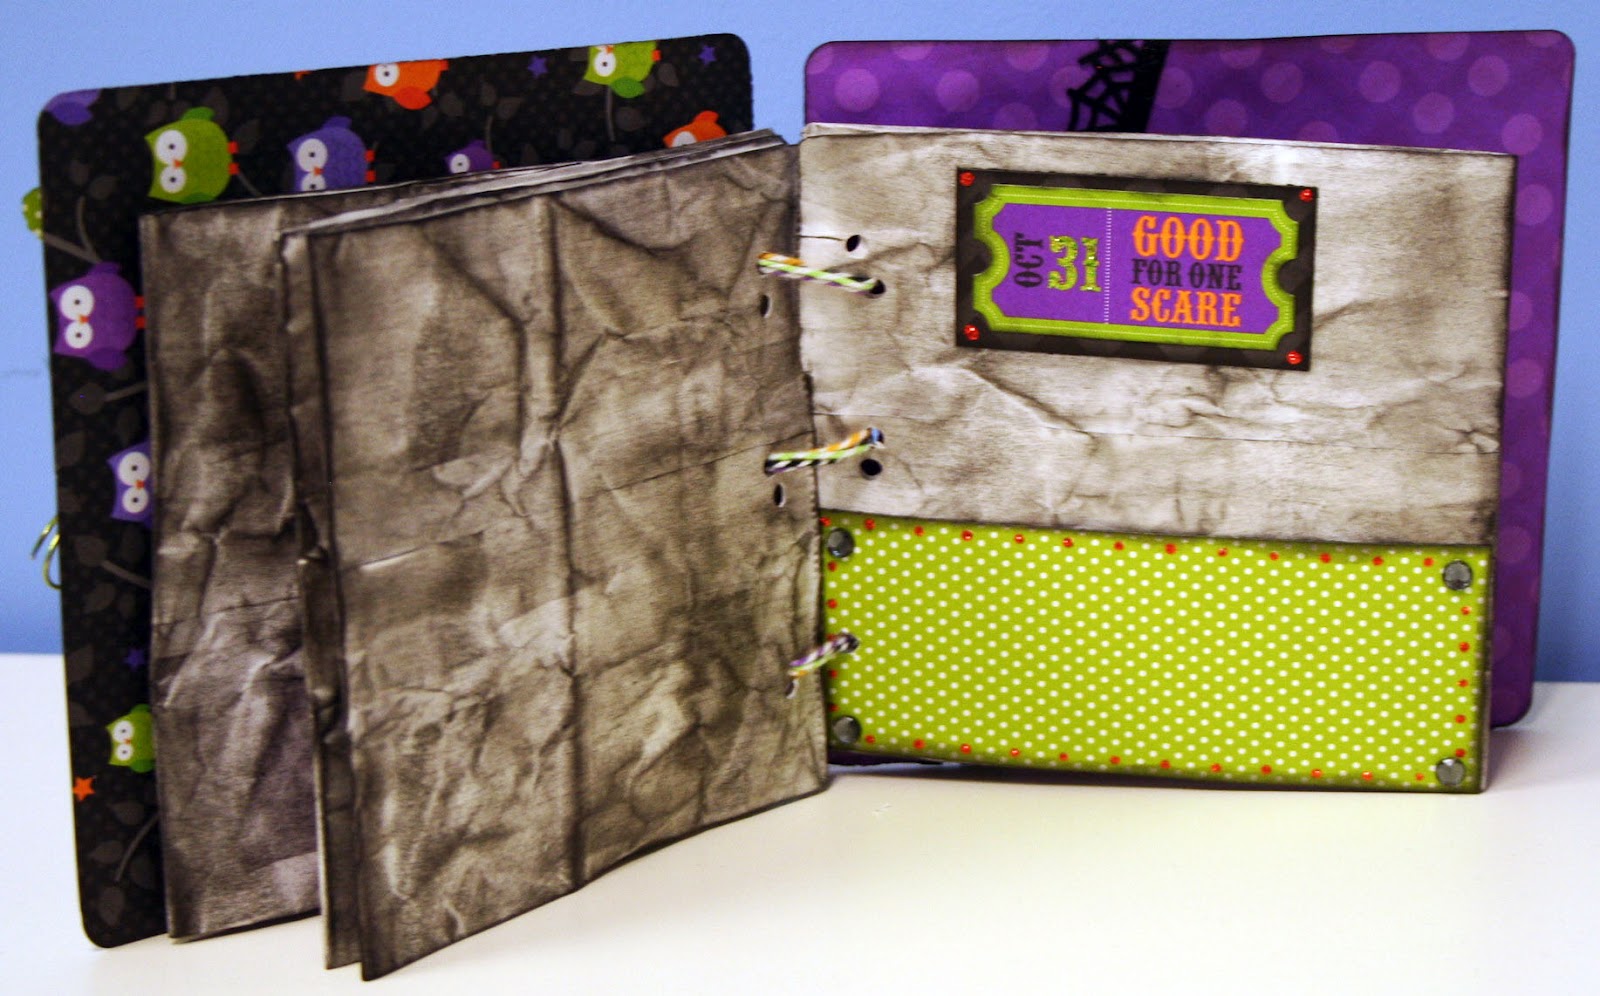
Doodlebug : Haunted Manor Paper Pack
Archival Ink - Black
OMC Vinyl : Black, Daffodil
Making Memories : Slice Design Card - Spook Alley MS+
Adams and Co. : Wood Block Set
Adhesive
Instructions:
1. Cut 16 squares 2 1/2" x 2 1/2" out of different patterned papers. Ink the edges of the papers with ink. Adhere paper to the wood blocks with liquid adhesive.
2. Using the Design Card, cut the numbers 0-8 out of vinyl. You will need to cut out two 2's and two 1's. You can use the number 6 for the number 9.
3. Once all the vinyl numbers are cut, attach them to the centers of the blocks.
4. After all the number are in place and you have checked to make sure that all the dates are accounted for, cover the entire block with liquid adhesive, such as Mod Podge.
5. Cut a strip of paper for the base block. Ink the edges, and adhere to the block. Cut out the phrase, "Halloween" out of vinyl and attach to the center of the block. Cover the base block with liquid adhesive as well.

Happy crafting!


