Created by OMC Designer Whitney

Supplies Used:
Silhouette : Fabric Ink (Black and White)
Oh My Crafts Vinyl and Transfer Tape
Hand Towel
Helpful Tools:
Silhouette : Universal Hook
Foam Brush
EKSuccess : EK Tools : 1” Circle Punch
EKSuccess : EK Tools : Self-Healing Pink Mat
Martha Stewart : Utility Bone Folder
Instructions:
Step 1: Create a stencil with vinyl and apply it to fabric. Use transfer tape to help apply the vinyl if needed.
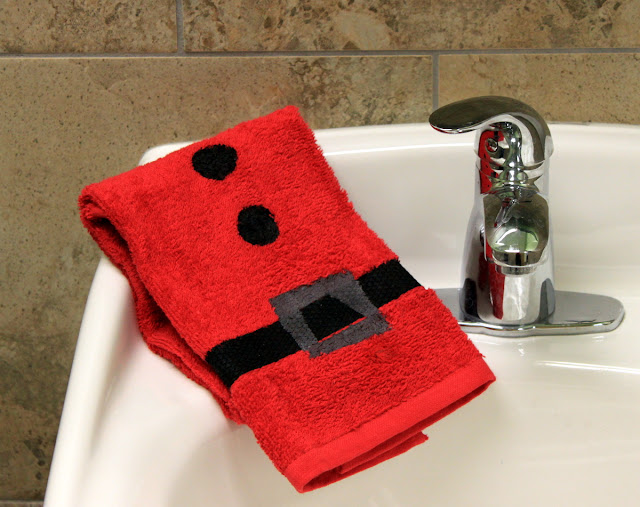
For the Santa’s suit, cut two 1”x 24” strips of black vinyl and apply them across the bottom of the towel about 2” apart. Also cut three 1” circles out of black vinyl and apply the “negative” to the center of the towel as if they were Santa’s buttons. For the belt, cut a square inside a square and set this aside.

Step 2: Use a foam brush to dab ink onto fabric. Be aware that the paint might seep through the fabric, so add paper behind the project to stop the extra ink.
Step 3: Allow ink to dry completely, remove vinyl stencil, and iron to set the ink.
Step 4: When layering colors, repeat steps.
Now is when you can layer Santa’s belt. For his belt, I mixed a little black with white to get the gray belt.
CLICK HERE to see all the products used in this project!
Happy crafting!


2 comments:
I totally LOVE this cute idea!!! Kids would get a kick out of it too! :)
Now who wouldn't want one of these in their bathroom or as a super gift for a friend.
Post a Comment